
How it works
How to list your place
Five steps, start to finish, from your dashboard to a live listing.
These screenshots show the real Norlease app, currently in English only — the app interface itself isn't translated yet, only the text on this page.
Step 1
Start your listing
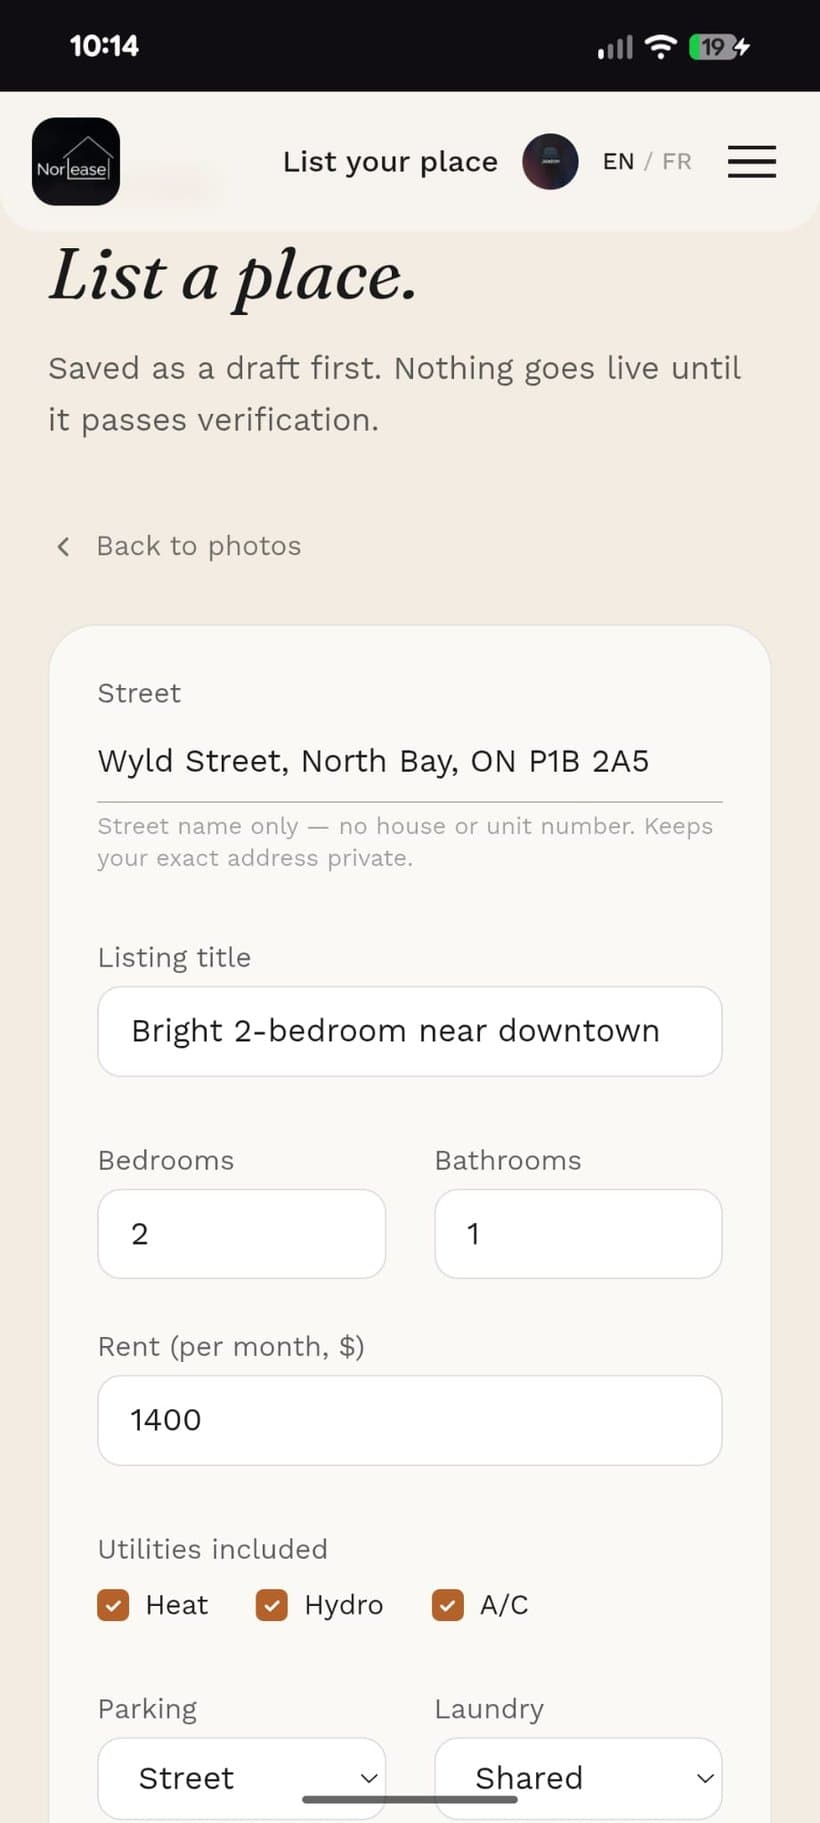
Tap “List a place” from your landlord dashboard, then add the street (just the street name, we keep the exact address private until someone's approved to view it), a title that sells the vibe, bedroom and bathroom counts, monthly rent, and what's included. Check off heat, hydro, or A/C if they're covered, and set parking and laundry from the dropdowns. Renters filter on these, so the more accurate, the more matches you'll get. Norlease saves everything as a draft automatically, so nothing goes live until it's ready, and nothing you type ever gets lost.
Step 2
Add your photos
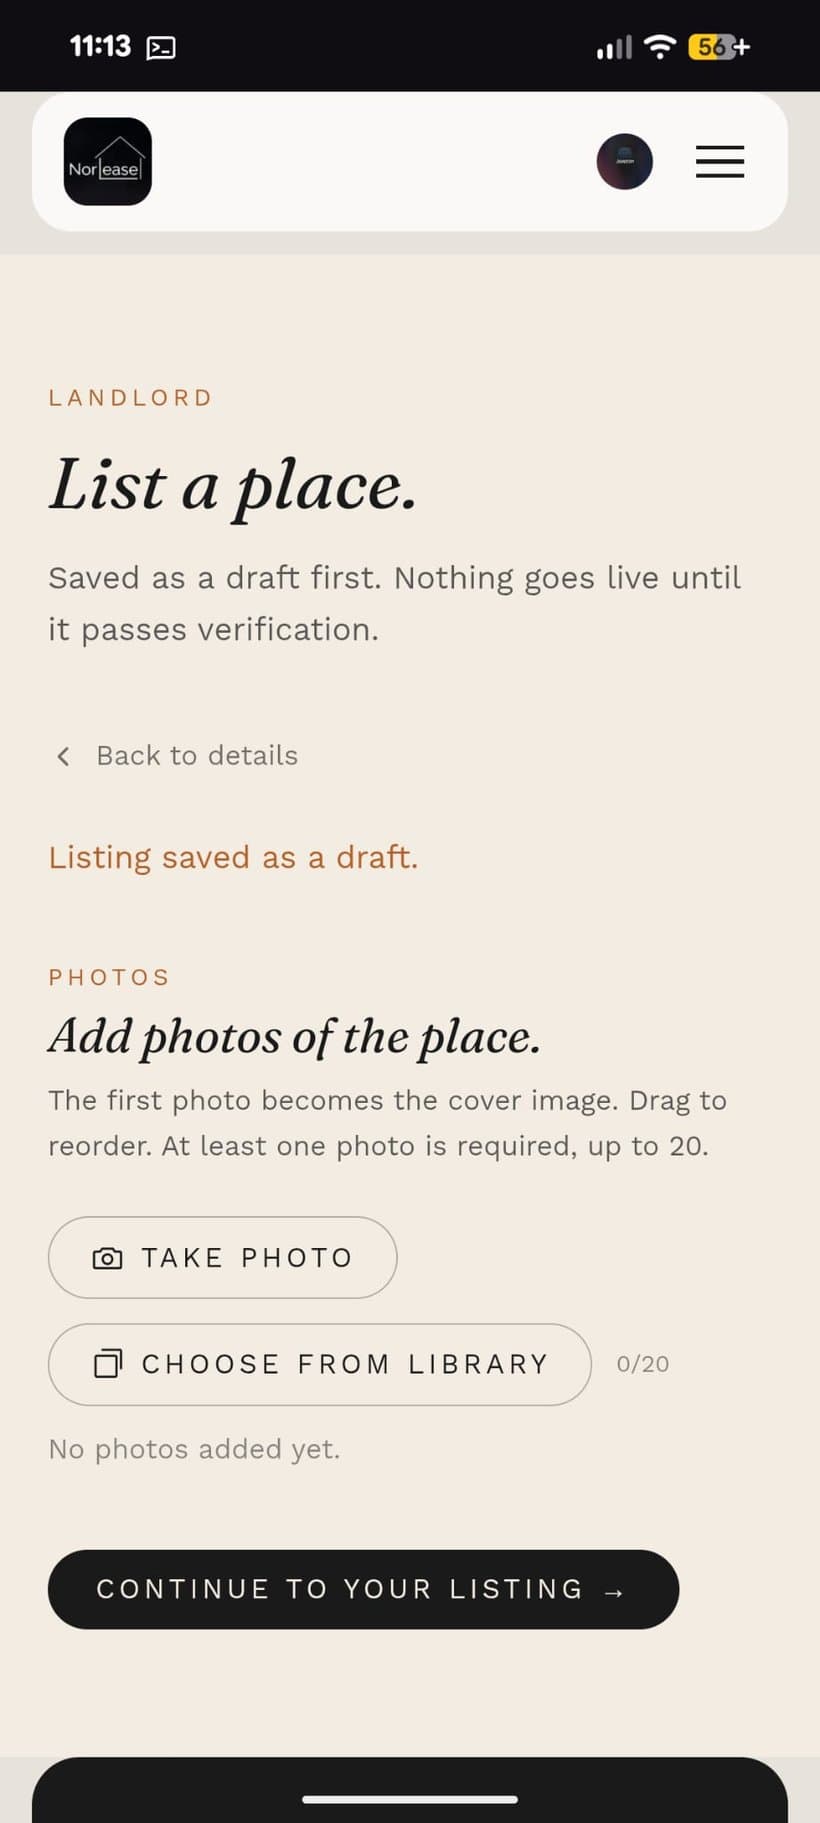
Once your details are saved, you'll land on the photos section — a place is easiest to picture once you can actually see it. Tap Take Photo or Choose from Library to add as many as you'd like, up to 20.
Step 3
Show the place off
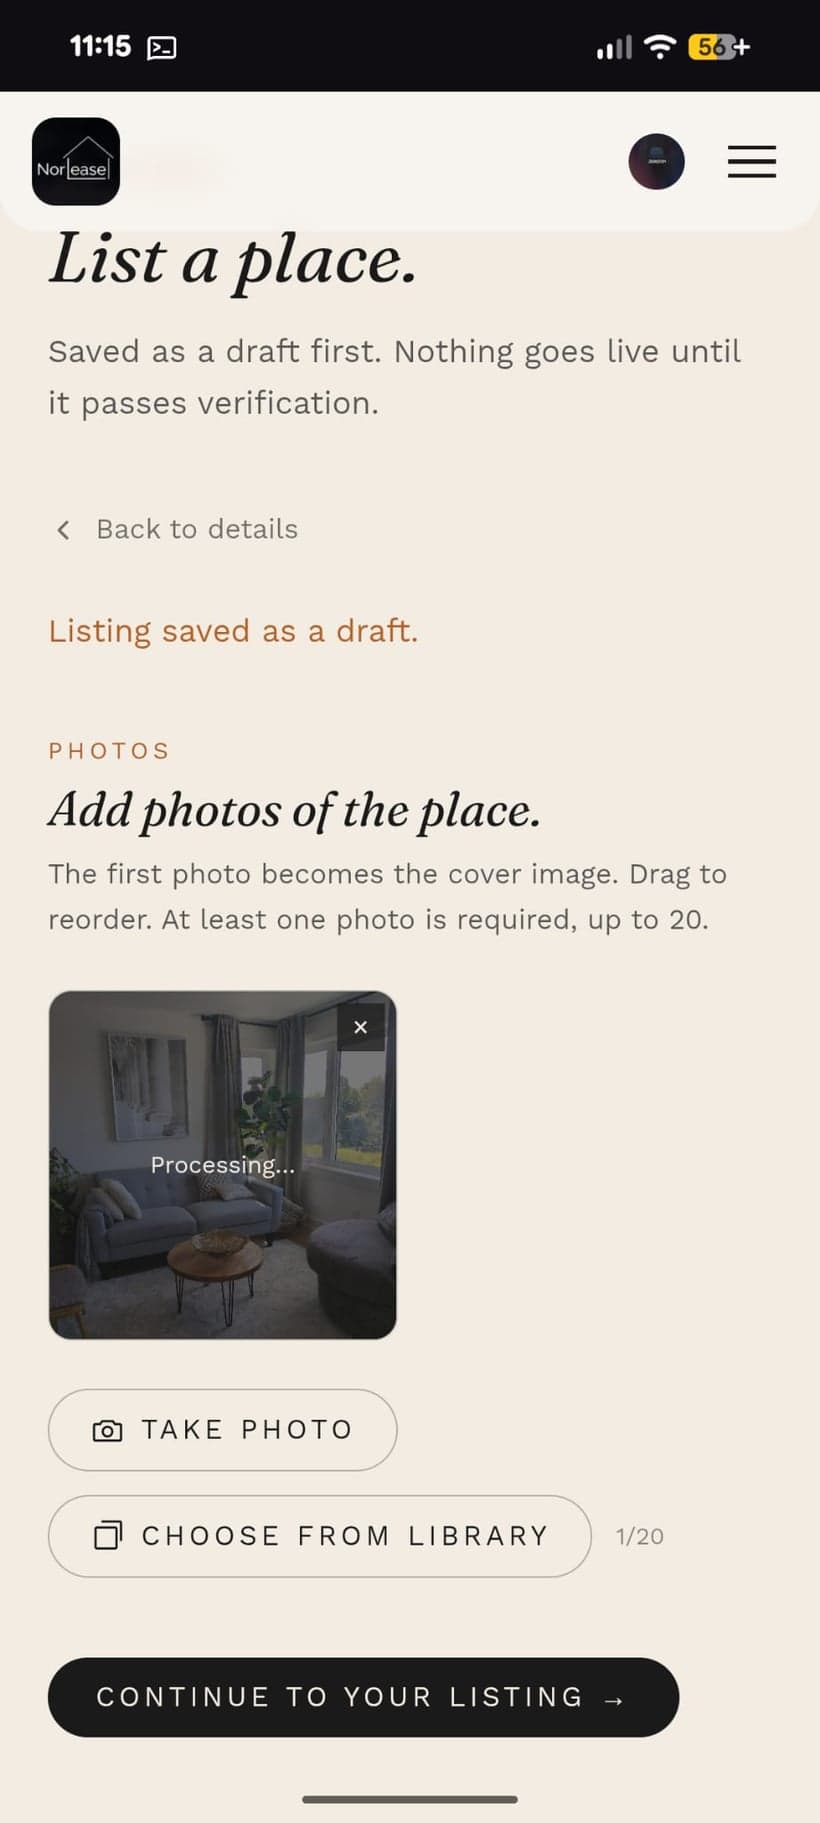
Take a photo right from your phone or pull from your library, whichever's faster. Upload up to 20. Norlease processes each one automatically (that's the quick “Processing…” you'll see) so it's ready to display at full quality without any extra steps on your end.
Step 4
Pick your cover shot
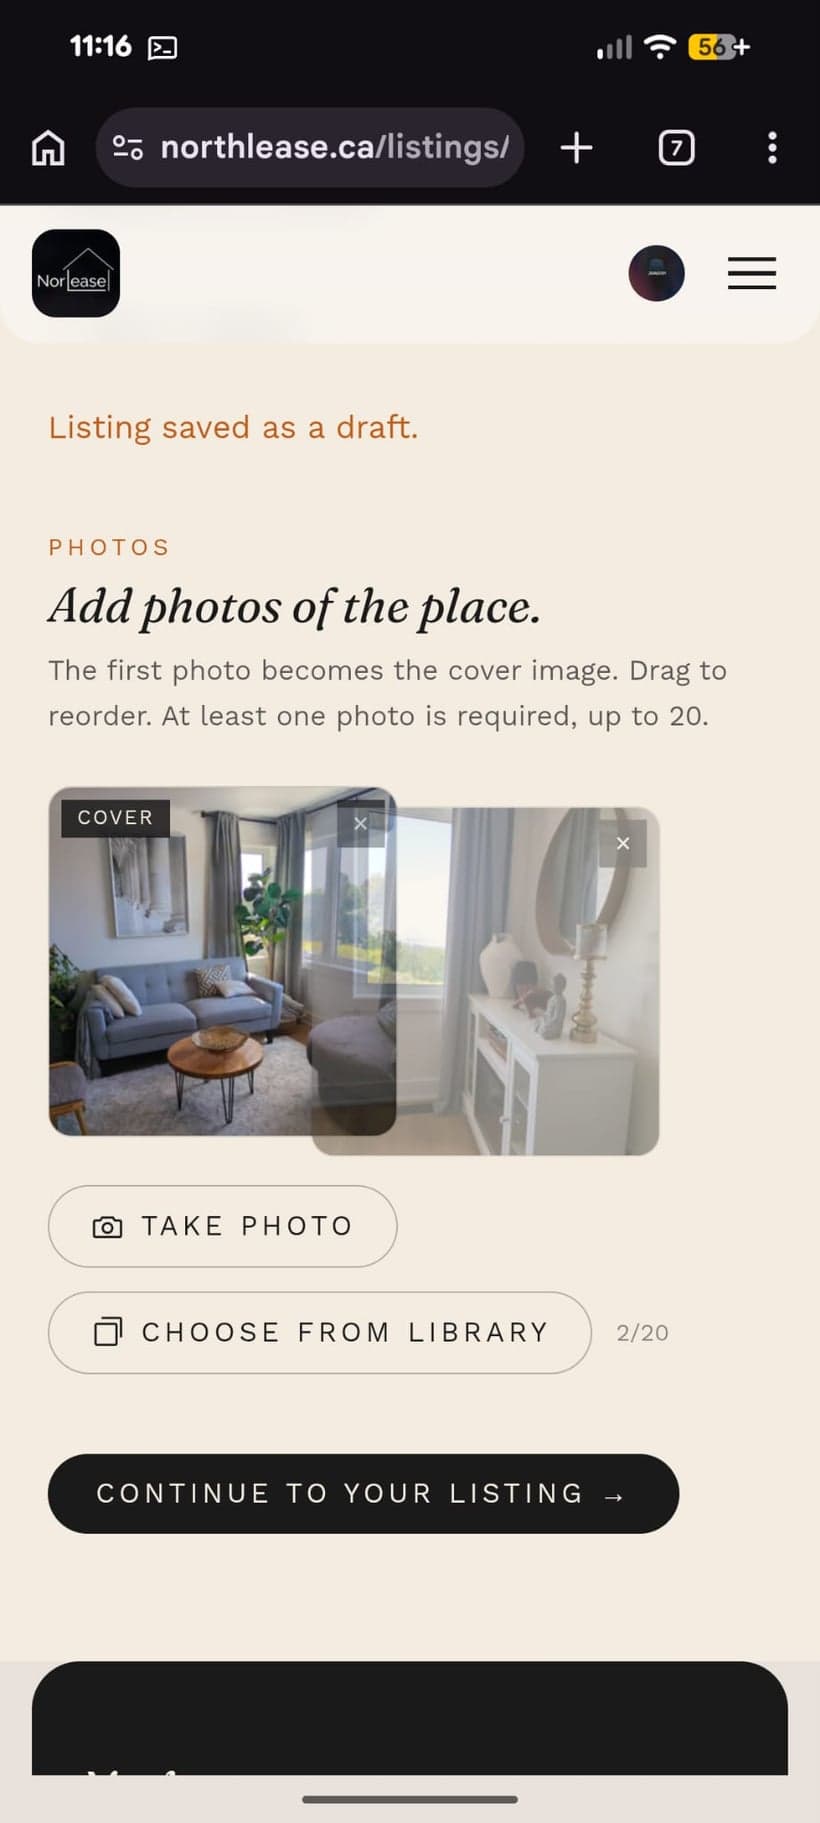
Add a few more photos, then drag to reorder. Whatever lands first becomes the cover image, the one renters see before they've even opened the listing, so give it your best room. Long-press and drag on mobile, same as reordering your home screen.
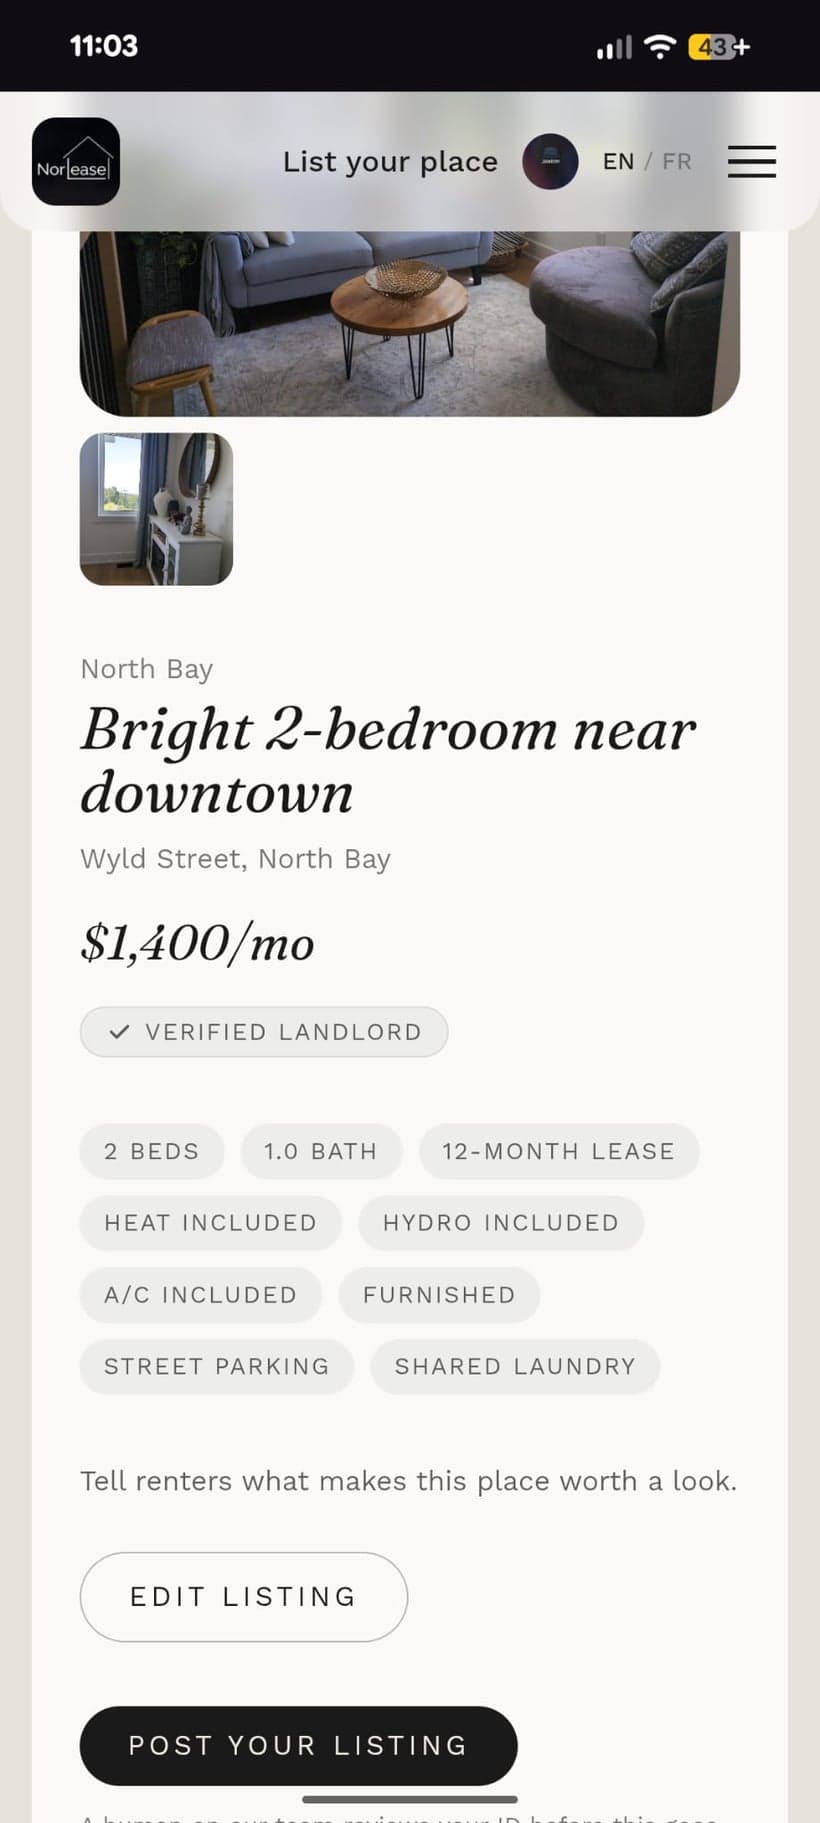
Step 5
Review, then post
Your listing comes together automatically from what you entered: badges for beds, baths, included utilities, parking, and laundry, right on the card. Add a few lines about what makes the place worth a look, then hit “Post your listing.” A real person on our team checks it before it's visible to renters, so every listing that goes live is one people can actually trust.
Five steps. Free, always.
No listing fees, no subscriptions, not while we're building this out. Just a verified place and renters who can trust what they see.
List your place →