
How it works
Setting up your renter profile
Start to finish, from a verified phone number to a profile landlords actually trust.
These screenshots show the real Norlease app, currently in English only — the app interface itself isn't translated yet, only the text on this page.
Step 1
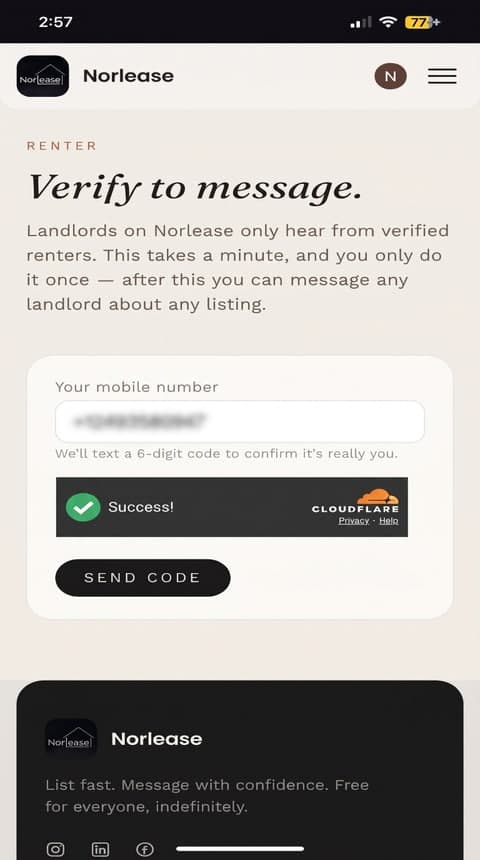
Verify your phone
Same as landlords: enter your number and clear a quick human check. Norlease texts you a six-digit code the moment you tap “Send code.”
Step 2
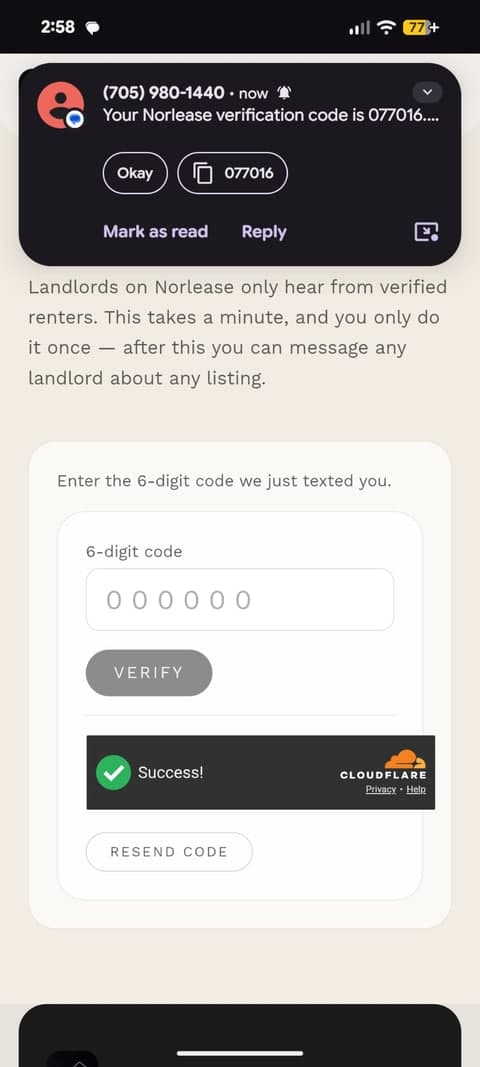
Enter the code
A real text lands within seconds. Type in the six digits and you're verified, this is the only time you'll ever have to do it.
Step 3
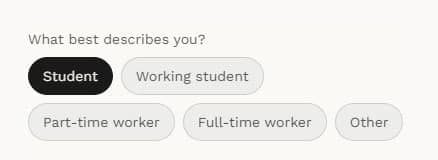
Tell us what best describes you
Pick whichever fits: student, working student, part-time or full-time worker, or other. Whatever you pick shows up in a landlord's inbox before they even open your message.
Step 3.1
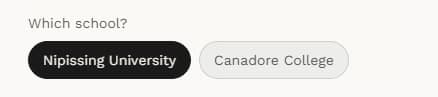
Student? Tell us which school
Picking student or working student reveals one more tap, Nipissing or Canadore. Pick anything else and this question never shows up at all.
Step 4
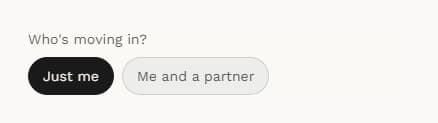
Who's moving in?
Just you, or you and a partner. It's purely informational, shown to a landlord alongside the rest of your profile, never something they can search or filter by.
Step 5
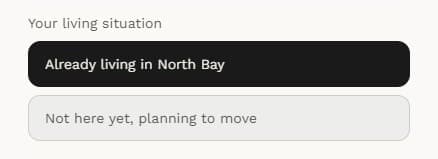
Your living situation
Already living in North Bay, or still planning the move? Pick whichever is actually true right now.
Step 5.1
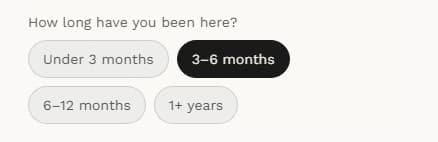
How long you've been here
Already living here reveals a quick follow-up on how long. Planning to move instead reveals a matching question about your own timeline.
Step 6
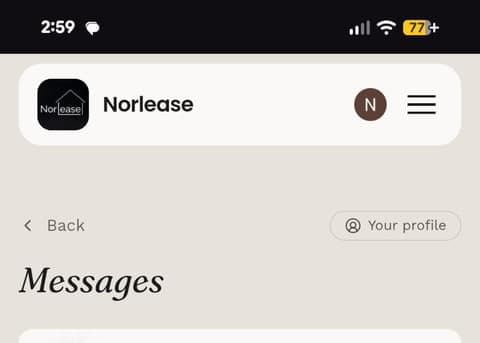
Verifying takes you straight to Messages
No dead-end screen, you land right in your inbox. Look for “Your profile” near the top any time you want to look back at what you filled in.
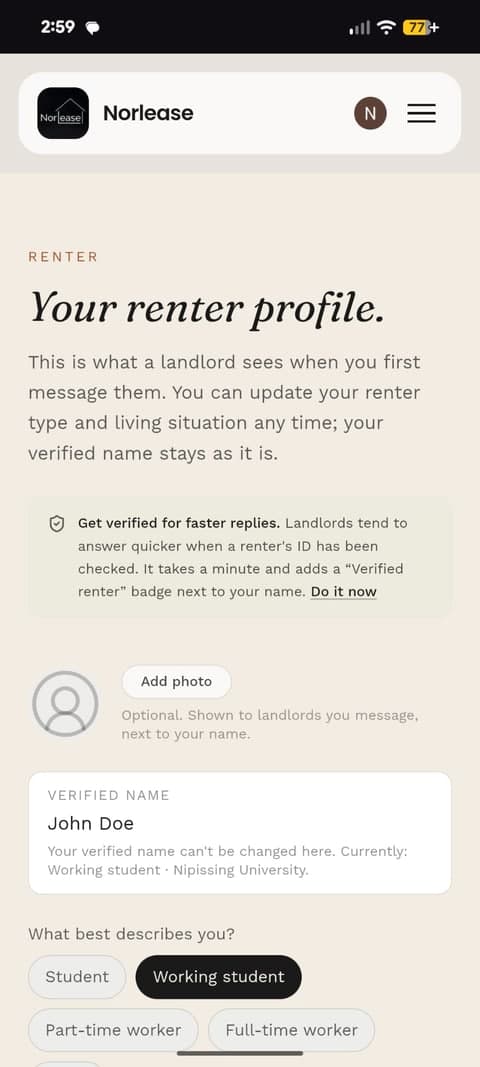
Step 7
Your profile, any time you want it
Everything you just filled in lives here, editable whenever you like. You can also add an optional photo, shown to any landlord you message, right next to your name.
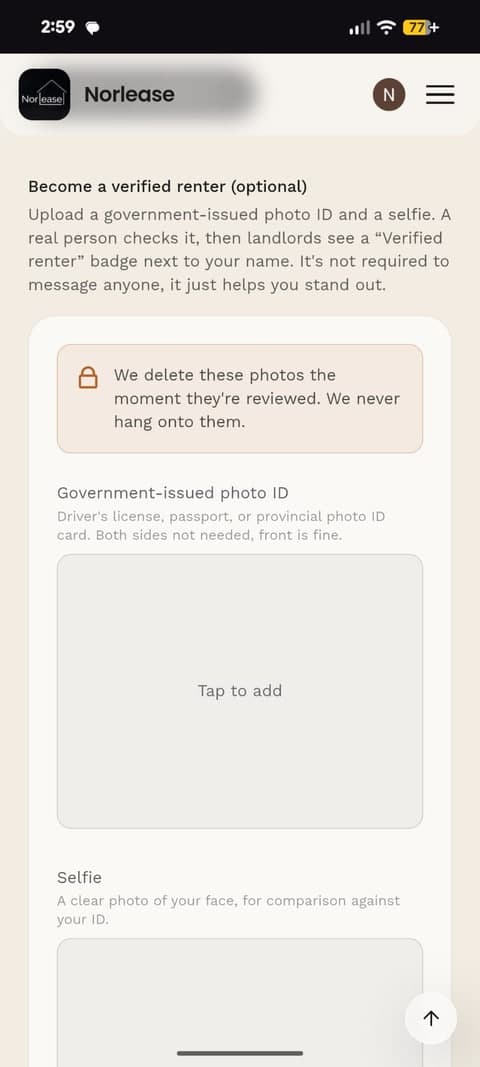
Step 8
Optional: go for the quality-verified badge
Phone verification alone already lets you message any landlord. Uploading a government-issued photo ID and a selfie is a completely optional extra step, entirely up to you.
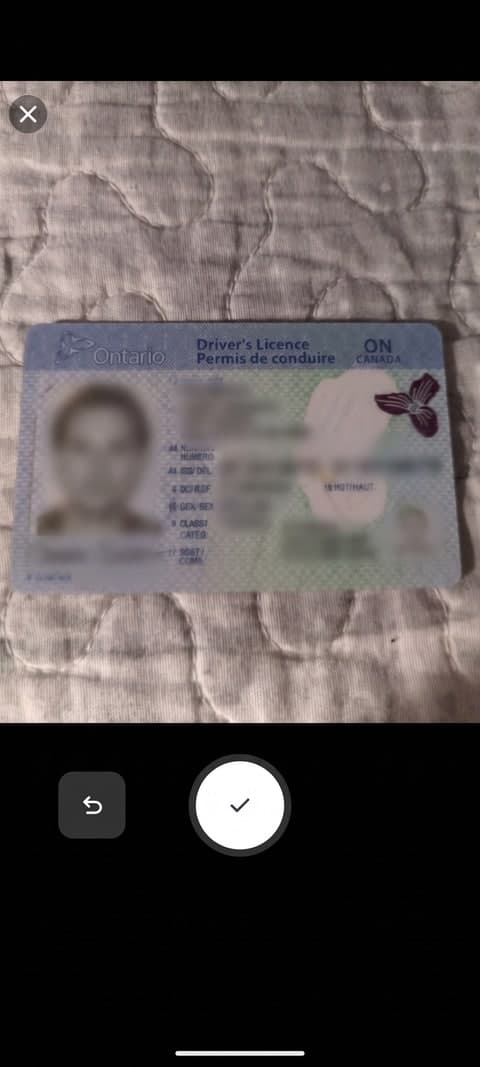
Step 9
Snap your ID
Right from your phone's camera, a driver's licence, passport, or provincial photo ID card. Front only, no need for the back.

Step 10
Then a selfie
Same deal, straight from the camera. A real person compares the two, not an automated match.
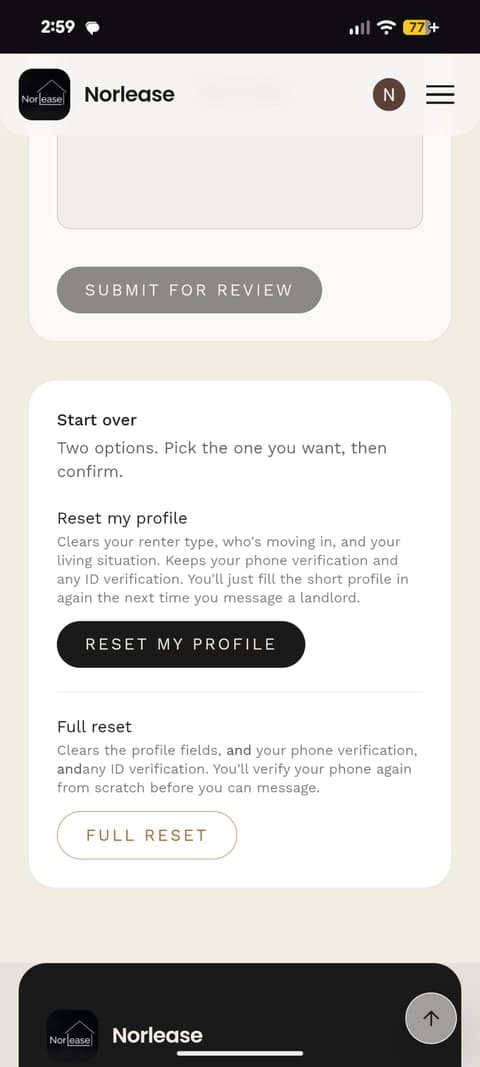
Step 11
Submit, or start over any time
Submit your ID for a real person to check, then a “Verified renter” badge shows up next to your name. Changed your mind? Reset just your profile answers, or do a full reset and start from scratch.
Ten minutes, tops. Message with confidence.
One profile, verified once, works for every landlord you message from here on.
Verify your profile →